Introduction
I wanted to find any hidden constraints when registering custom runners with GitLab.com, specifically on its free tier. I’m happy to state that the benefits of using custom runners far outweigh the effort required to setup on your workstation.
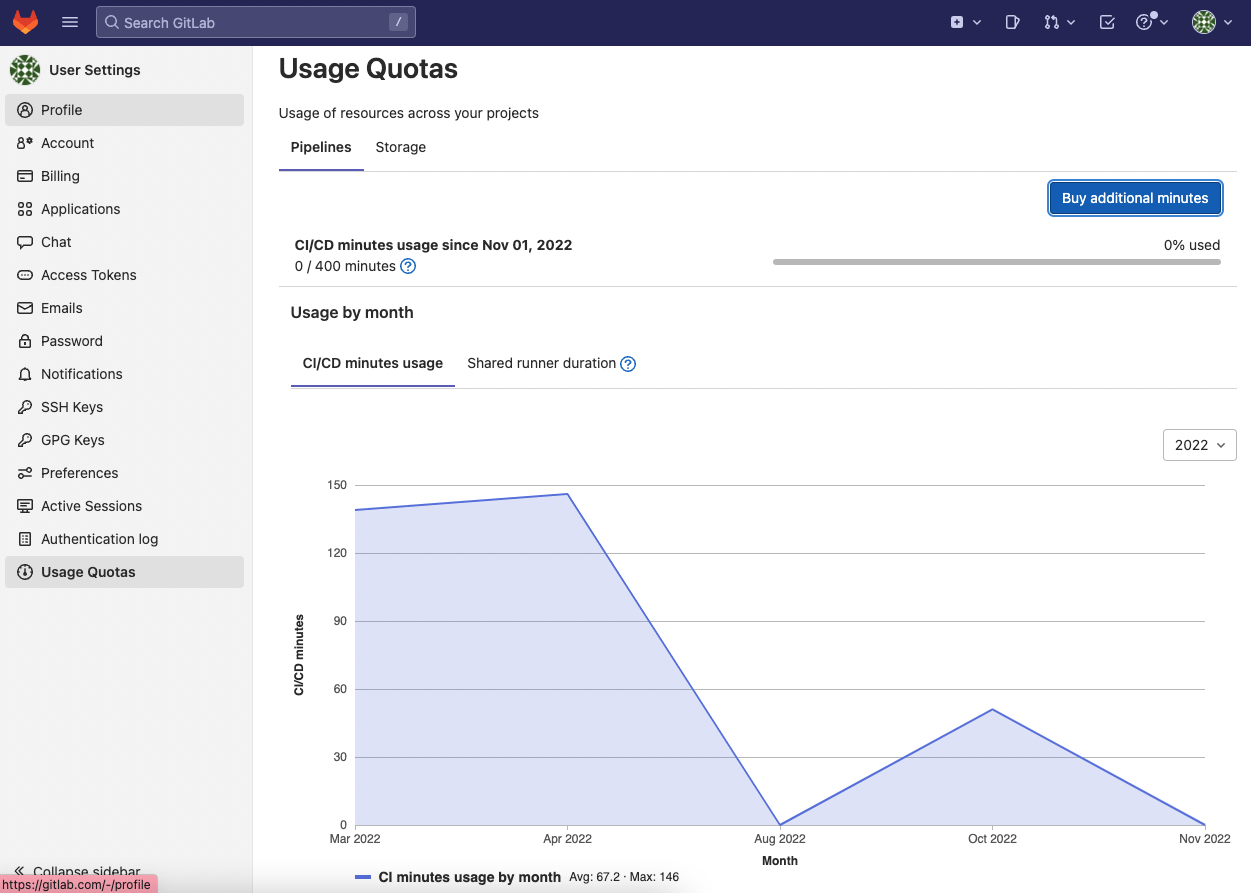
Before using custom runners, my average CI/CD usage per month was 67 minutes, with a maximum of 146 minutes. Although my usage was way below the 400 free CI/CD minutes per month on GitLab.com, however, using custom runners has been liberating for me as I don’t have to worry about paying GitLab.com to get additional minutes in the future.

TL;DR
You can register multiple runners on the same host machine, each with a different configuration, by repeating the register command.
After registering a custom runner, GitLab.com continues consuming any unused CI/CD minutes, unless, you specify tags in both your runner and CI/CD pipeline.
When you register a runner, you can specify the runner’s tags, for example my-runner. To pick up and run a job, a runner must be assigned every tag listed in the CI/CD configuration. For example:
|
|
Homebrew Installation
-
Install GitLab Runner with
brew install gitlab-runner. -
Install GitLab Runner as a service with
brew services start gitlab-runner. -
You can verify that GitLab Runner created the service with
brew services list.
|
|
Installing the GitLab Runner as a service will ensure that your runner is available each time you restart your workstation.
Registering Runners
You can register multiple runners on the same host machine, each with a different configuration, by repeating the gitlab-runner register command, which will be followed by an interactive session.
-
Enter the GitLab instance URL, which can be either managed or self-hosted. For example, the managed instance URL is
https://gitlab.com/. -
Enter the registration token for either:
-
a shared runner (not available on GitLab.com) - go to GitLab Admin Area > Overview > Runners.
-
a group runner (your custom runner will be available to all projects within this group) - go to Group CI/CD > Runners.
-
a project runner - go to Project Settings > CI/CD > Runners.
-
Enter a description for the runner, to distinguish multipler runners, e.g.
my-runner-01. -
Enter comma-separated tags for the runner (your CI/CD configuration must have the same tags as your custom runner in order for the runner to pick up and run the job), e.g.
my-runner. -
Enter optional maintenance note for the runner, you may leave as blank.
-
Enter an executor, e.g.
docker. -
Enter the default Docker image, e.g.
ubuntu. -
After completing the above interactive session, you should see a message
Runner registered successfully.
Adhoc Analytics
Basically, I checked the duration of the same job when using a shared runner vs a custom runner. A shared runner took 1 minute 41 seconds, while a custom runner took 1 minute 14 seconds, which is about 25% faster than a shared runner.
Conclusion
There was no major constraint when registering custom runners with managed GitLab.com.
The benefits of using a custom runner are you do not have to pay for additional CI/CD minutes and it is faster than a shared runner when picking up and running a job.